
Well last weekend I had to put together a 3 tier wedding cake with flowers in between the tiers and a flower topper on top of the cake. I researched and tried to find a simple solution to have a stable construction which meant the cake would not topple off or look topsy turvy.
I couldn't find anything!! So I decided that as I was constructing my cake I would take step by step pics and upload it on my blog so that other decorators would not be stuck like I was!
So here it goes!
STEP 1

First of all you need your flowers and cake tiers.
STEP 2
 |
| Oasis floral foam to secure the flowers |
 |
| Plastic tray |

I started with the cake topper and cut the foam in a cylindrical shape and soaked it in water. I then got a little piece of Cling film and wrapped in on the bottom and then tied it with an elastic band (to keep the foam water proof and protect the cake. I then placed the foam on top of the tray stuck with double sided sticky tape. The foam is now ready for flower arranging.
 |
| Cake topper |
The topper is now complete.
STEP 3

Oasis once again but this time I am arranging only the sides of this foam and this foam will be positioned on top of the bottom cake tier. I grabbed a round template of appropriate size and made a mark on the foam to cut around.

Now the foam is just like my template and is also soaked in water. I repeated Step 2 regarding the plastic tray and cling film and now this foam is ready to decorate!.

Once I had finished decorating I went into a blind panic, because I decorated the flowers too high! This would mean that when I put the middle cake tier on top of it, the flowers would get squashed.

I found the perfect solution. I cut the polystyrene template (from the above picture) approximately 1 cm in height and stuck it on top of the foam. If you look closely at this image, you will see 4 wooden dowels that have been cut exactly the same height as the top of the foam/polystyrene.
STEP 4
Now comes the most important part... Doweling!.
 |
| My hubby helping me with the dowels |

The first thing you must do is position the flower so that it is on the middle of the cake.
Then, as my husband demonstrates, a long dowel is placed right next to the foam and pushed all the way down until the dowel hits the bottom board of the cake. Then the dowel is cut in line with the top of the foam/polystyrene. This step is repeated 4 times across the foam.
STEP 5
Repeat step 3 and 4 for the foam which goes on top of the middle tier and directly underneath the top tier.
Once that is complete all you have to do is stick the tiers together with royal Icing. What I did when I got to the venue is start bottom up. With the bottom tier I put a thick layer of Royal icing onto of the flower foam/polystyrene. I then positioned the middle tier on top of it, then I put Royal Icing on top of the Flower foam/polystyrene of the middle tier and positioned the top cake tier on top of it, then stuck on the cake topper.
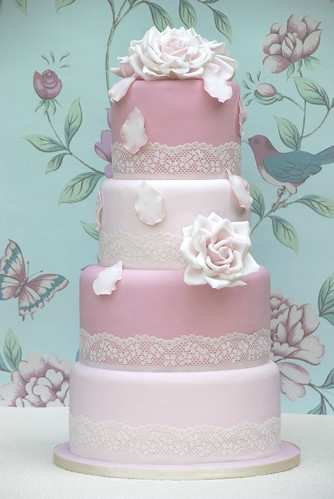
Here is the image of the final cake.

I hope this has helped you in some way, it may not be the best technique, but it's the one which worked for me:) xxx.




 Posts
Posts

